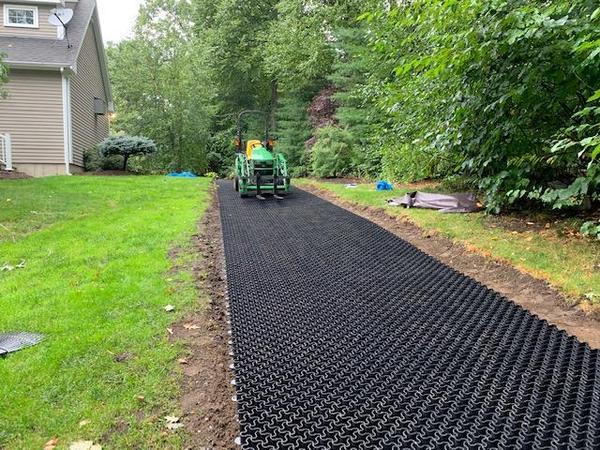
Are you looking for a great way to add curb appeal to your property, as well as functionality? While you could opt for the standard concrete or stone, there’s a better way to achieve your goal — cue our EasyPave Grid!
This permeable paving system is number one on the market since it is easy to install, can hold up to 80,000 lbs, and is the only system with flow-through erosion openings for lateral water movement.
Now, before you dive in and begin to assemble your new driveway, here are some essential installation instructions to keep in mind.
Step 1: Prep Your Ground
One of the most essential steps before laying down your EasyPave Grid is to make sure that you prepare the ground first. Paying close attention to detail the first time will lessen the chance of having to reassemble your EasyPave Grid a second time:
- To start, smooth out the installation area of grass or soil. When completing this step, make sure the area is clear of all debris — such as large rocks, tree branches, and big stones. Next, after you have smoothed out the installation area, compact the sub-base.
- Now, if you’d like a base with proper drainage, or think you’d benefit from one, take about 1 to 3 inches (depending on the load class) of base (such as crushed gravel) and evenly distribute that on top of your already prepared base.
Note: If you are laying your grid on top of the grass, we strongly suggest using our EasyPave anchors to avoid any “floating” on the grass.
Step 2: Connect the Base
After creating a smooth and compact base, it’s time to snap and connect your grid. Although this may look like a challenge, we can assure you that the process is pretty straightforward:
- First, line up the units together (end to end) and ensure that one pad section is lined up with a neighboring unit’s non-pad section.
- Next, lightly tuck each pad under the wave pattern on the other unit very lightly.
- From there, push the grids together to hear a clicking sound. When you hear this sound, that will indicate that your grid is locked and ready for the next step: anchoring and filling!
For the full list of instructions, please refer to the EasyPave Grass & Gravel Paving System Installation Guide.
Step 3: Anchoring and Filling
Once you have your grids locked in place, begin anchoring your grids with our EasyPave anchors (as mentioned earlier). While this is an entirely optional step, it is essential for grids placed on top of the grass and those where the slope installation (if not used for a driveway) is over 10%.
From there, it’s time to fill your grids for a more finished, custom look. When it comes to filling options, here are a few suggestions to consider:
- Grass/Sod
- Gravel (keep it ½ inch or less)
- Empty, if you’d like something more modern.
Number One Permeable Paving System on the Market
Since 2000, Vodaland has been reinventing the environment with the first whole arrangement in terrain development that embodies safety and esthetics. Contact us today to learn more about our products or visit our website to place an order.


Leave a comment
This site is protected by hCaptcha and the hCaptcha Privacy Policy and Terms of Service apply.