 Full Catalog PDF

Key Takeaways:
1. Permeable pavers let water drain through the surface instead of running off, which helps with erosion, flooding, and groundwater recharge all at once.
2. Load class depends entirely on what's driving or standing on top of it.
3. What you fill the grid with (gravel, soil, or grass) changes both the look and the performance of the finished surface.
4. Accessories like anchors and geotextile fabric keep a paver system stable and performing long-term.
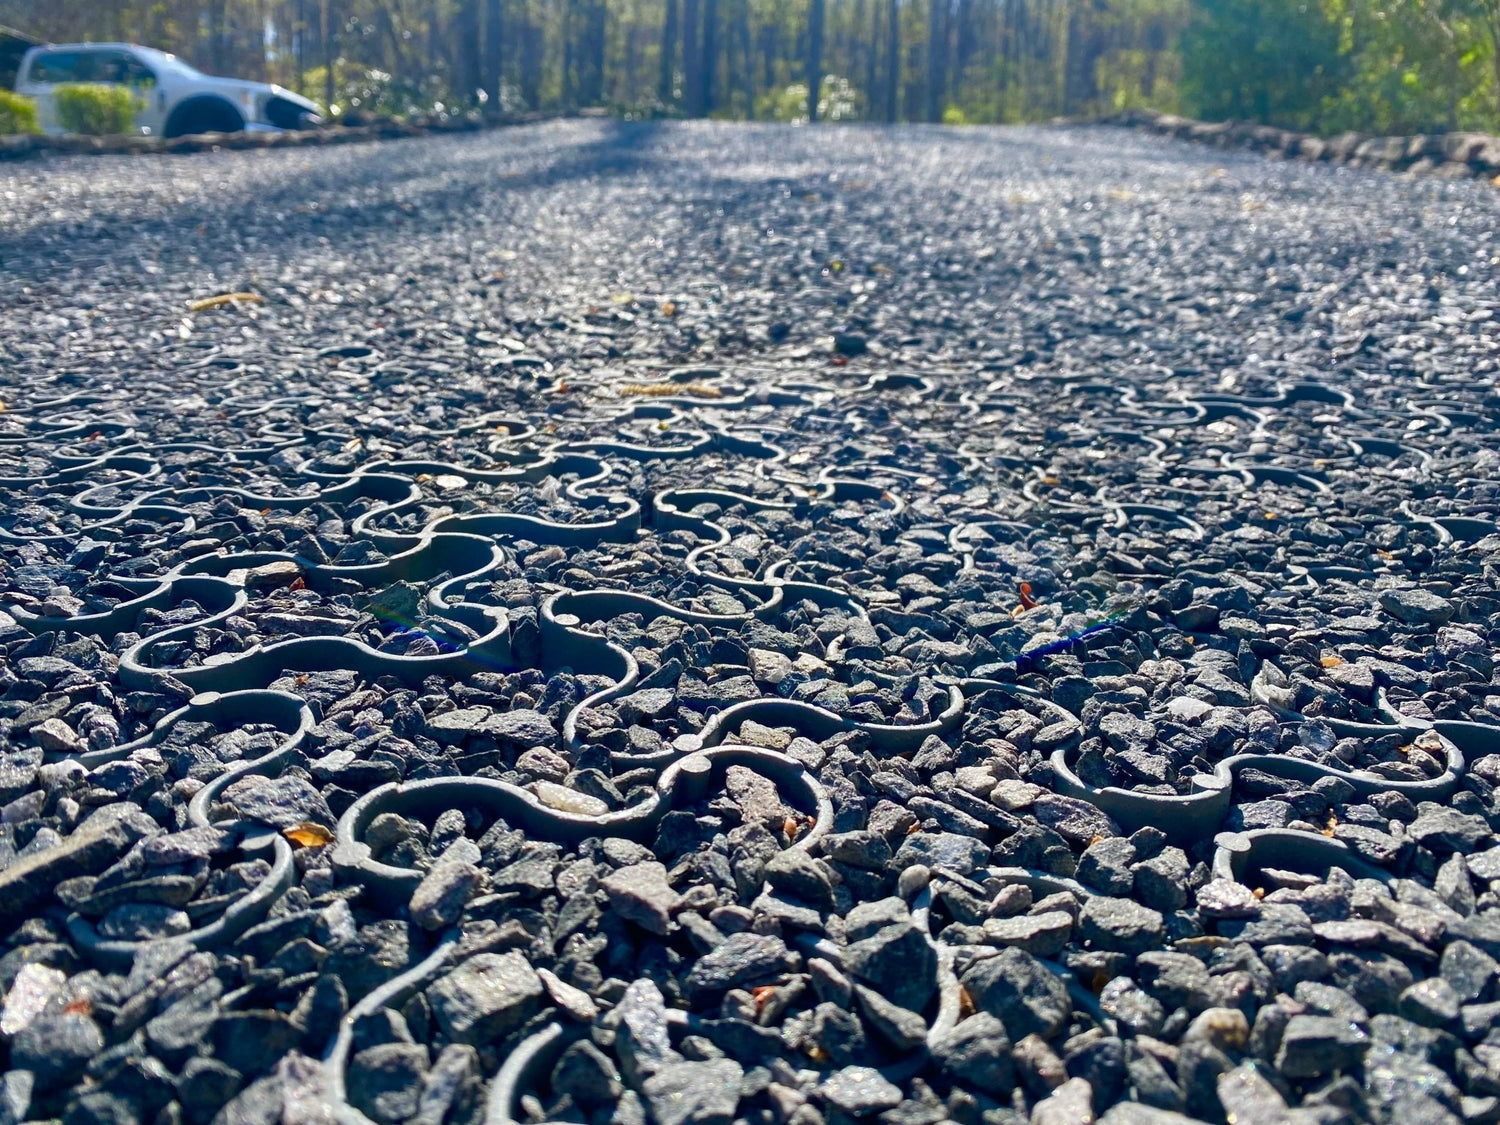
Permeable Pavers solve a problem that solid concrete and asphalt create in the first place: they let water pass through the surface instead of pooling on top of it or running off somewhere it's not wanted.
Whether you're building a driveway, a parking area, or a simple garden path, a permeable pavers system gives you a stable surface that actually works with the water cycle instead of fighting it. This guide walks through how to pick the right system, what to fill it with, and how to install it correctly the first time.
How to Pick the Right Paver System for Your Project
The right paver system comes down to one main question: what's going to be on top of it, and how often?
Light Use: Walkways, Patios, and Garden Areas
For foot traffic, light landscaping, or smaller residential applications like dog kennels or horse paddocks, a lighter-duty system like HexPaveis usually plenty. HexPave laid capacity is up to 27,000 pounds per square foot—more than enough for patios, walking paths, shed bases, and similar everyday uses.
Heavy Use: Driveways, Parking Lots, and Vehicle Traffic
For anything that needs to support regular vehicle weight (driveways, parking lots, event parking, or commercial applications) you need a system built for that load. EasyPave Pro is rated up to support up to 120,000 pounds per square foot depending on base and fill, which makes it suitable for both residential driveways and full commercial parking lots.
Specialty Applications
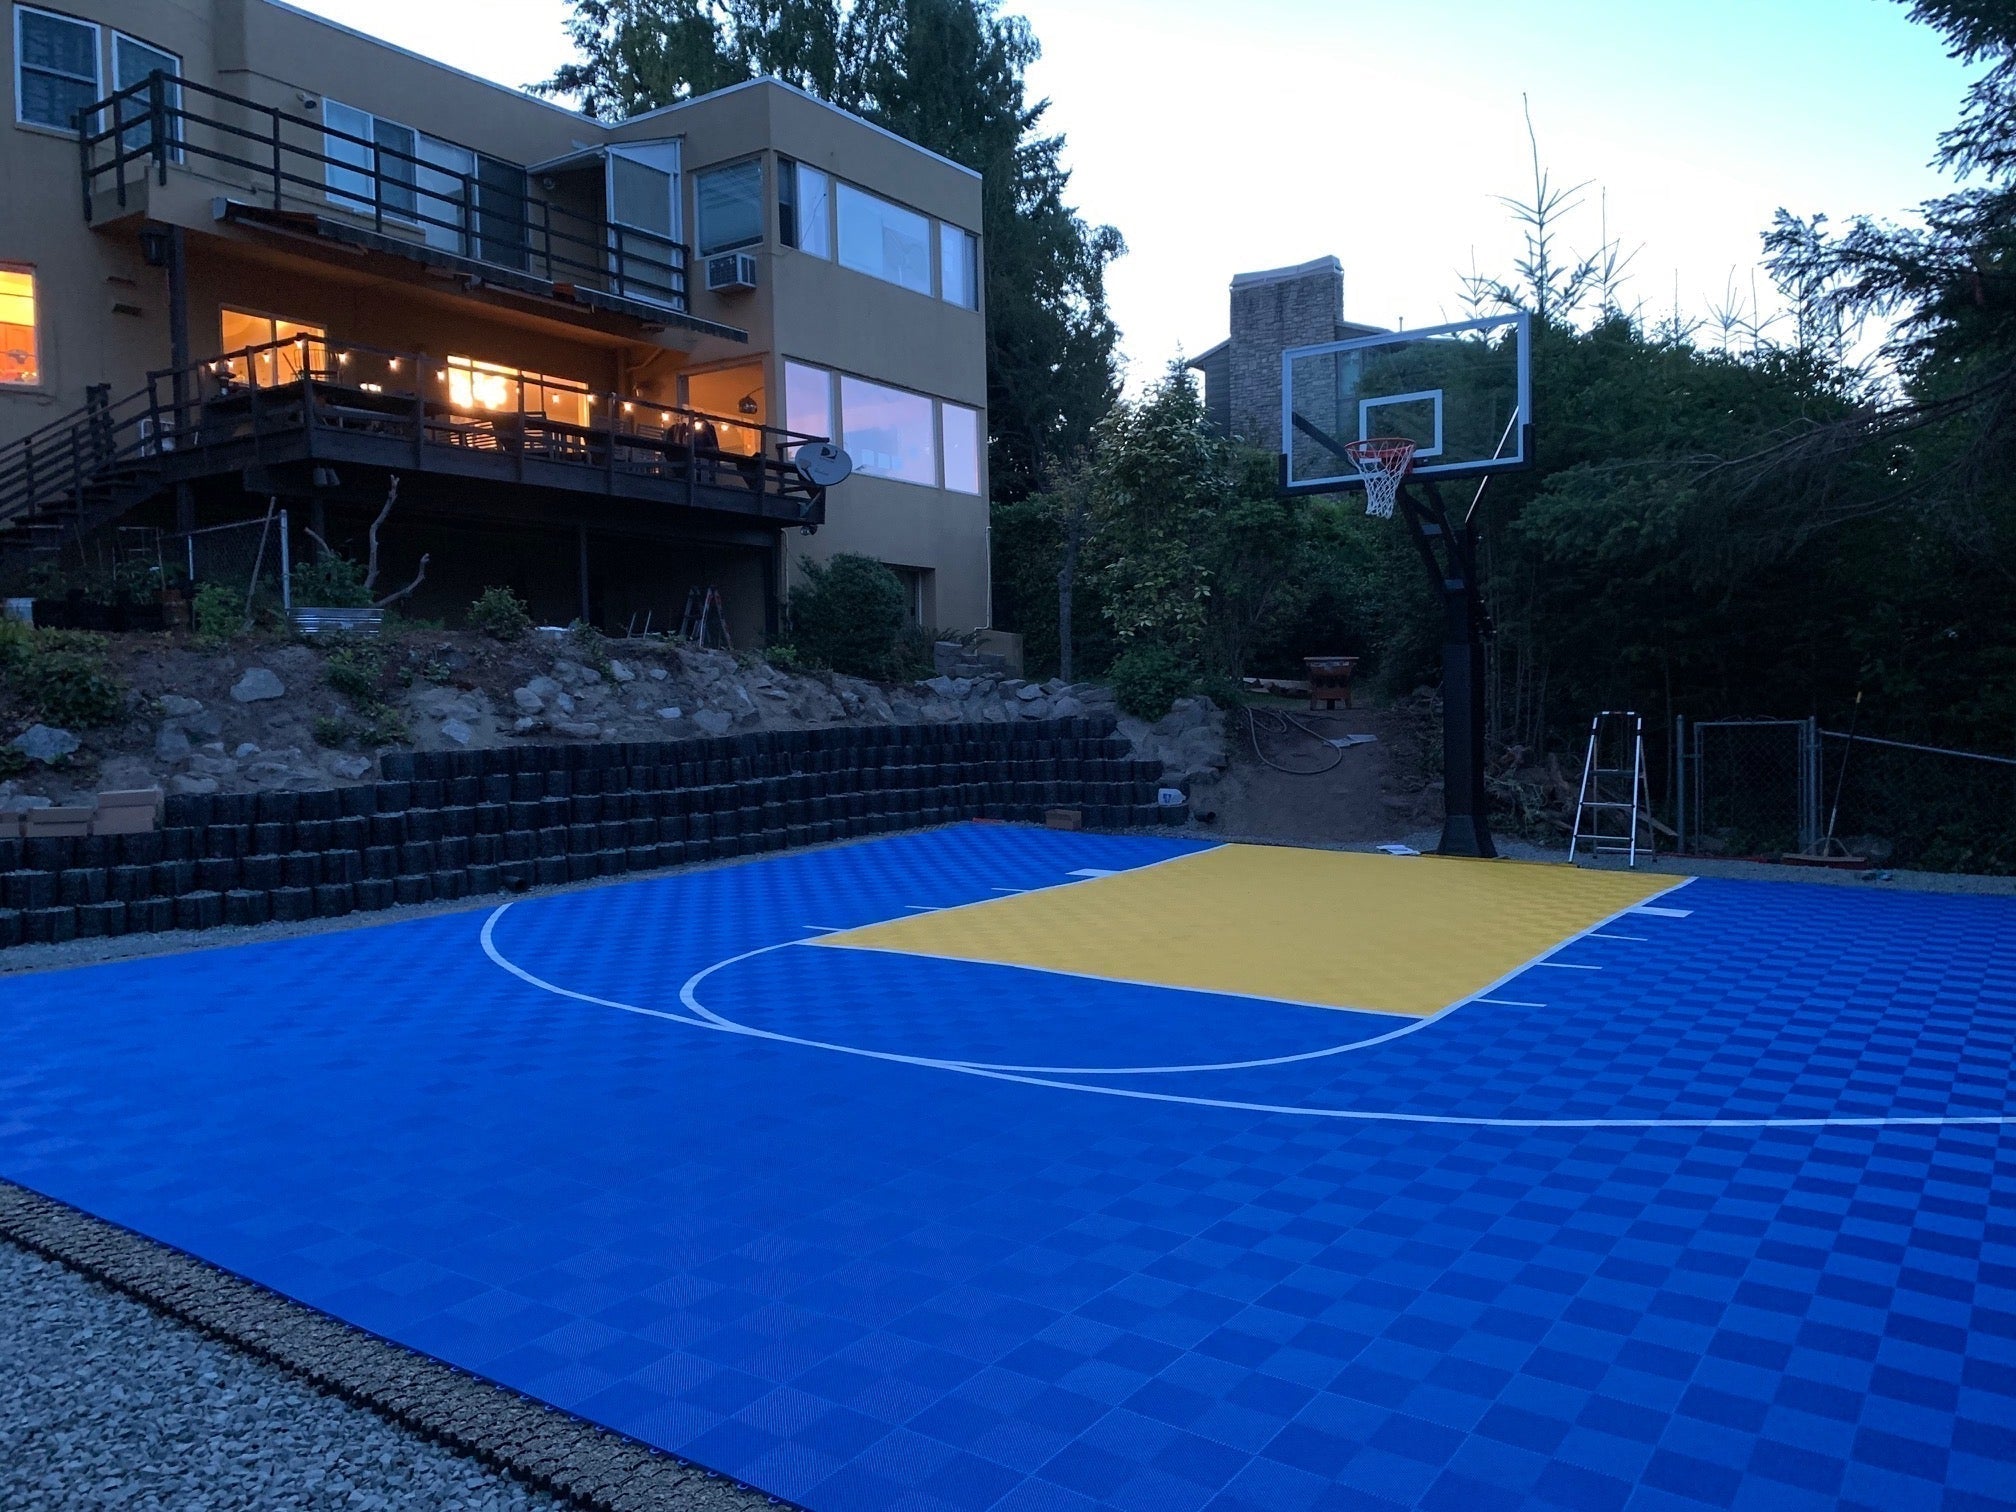
Sports court bases (tennis, pickleball, basketball) and shed or hot tub pads fall somewhere in between depending on the specific weight load involved. The EasyPave is a great option with a load capacity of 80,000 pounds. Perfect solution for speciality applications.
Understanding Load Classes Before You Buy
Load class determines whether your paver system holds up or fails under real-world use.
A system rated for foot traffic will deform, crack, or sink under a vehicle. That's the wrong product for the job. Before choosing a system, think about the heaviest thing that will ever sit or drive on that surface, not just the average use case. A driveway that occasionally sees a delivery truck needs to be rated for that truck, not just the family car that uses it daily.
What Fill Material to Use and Why It Matters
The grid itself is only half the system. What you fill it with determines both the look and the function of the finished surface.
Gravel Fill
Gravel is the most common fill for driveways and parking areas. It's permeable, stable under vehicle weight, and gives a clean, finished appearance. It's also the easiest fill to maintain over time.
Soil and Grass Fill
For a more natural, green appearance, filling the grid with soil and grass seed creates a surface that looks like a regular lawn but performs like a load-bearing paver system underneath. This works well for overflow parking areas, event spaces, or driveways where a homeowner wants function without sacrificing the look of grass.
Sand or Resin-Bound Fill
Less common for vehicle applications, but a good option for pathways or patios where a smoother, more compact finish is the goal.
The right fill depends on the look you want and how much load the surface needs to handle. Heavier vehicle applications generally do best with gravel, while lighter walkway and patio applications have more flexibility to go with grass or sand.
Why Anchors Matter on Sloped or High-Traffic Installations
On flat, stable ground, the snap-lock connections between paver grids are often enough to keep everything in place. But on sloped or hilly sites, or in areas with heavier use, anchors add a second layer of security by pinning the grid directly into the ground beneath it.
Vodaland's Paver Anchors are made from HDPE plastic, durable enough to pierce tough surfaces, and compatible with HexPave, EasyPave, and EasyPave PRO systems. The general rule of thumb is one to two anchors per grid: more on steeper slopes, fewer on flat, low-traffic areas.
If your project includes any grade change at all, anchors are worth including from the start rather than adding them later if the grid starts to shift.
Why Geotextile Fabric Belongs Under Every Installation
Geotextile fabric sits beneath the paver grid, between the grid and the native soil. It stabilizes the base, separates the fill material from the soil underneath, and still allows water to pass through—which is the whole point of a permeable system in the first place.
Vodaland offers two main options here:
- 4oz Non-Woven GeoTextile Pro Fabric for general stabilization and underlayment
- Argo GeoTextile Fabric for similar applications with a focus on long-term outdoor durability.
Both are non-woven polypropylene, resistant to mildew, rot, and tearing, and UV stabilized for long-term exposure.
Skipping the geotextile layer is one of the most common reasons paver installations fail early. Without it, fill material migrates into the soil below over time, and the surface starts to sink and shift in ways the grid alone can't prevent.
How to Install a Permeable Paver System
Step 1: Excavate and Grade
Remove existing surface material to the required depth (typically 4-6 inches for vehicle applications, less for foot traffic). Establish a slight grade to direct water flow if needed.
Step 2: Lay the Geotextile Fabric
Roll out the fabric across the full excavated area, overlapping seams by at least six inches to maintain a continuous barrier.
Step 3: Add a Base Layer
Add a compacted gravel base layer appropriate to your load class. Heavier vehicle applications need a deeper, well-compacted base than foot traffic areas.
Step 4: Install the Grid
Snap grid sections together using the built-in locking system, working in rows across the prepared area. Add anchors on sloped sections or high-traffic zones as you go.
Step 5: Fill and Finish
Fill the grid with your chosen material (gravel, soil and grass seed, or sand) and finish the surface flush with the top of the grid cells.
Build a Surface That Works With the Water, Not Against It
Permeable Paves give you a surface that's stable enough for daily use and smart enough to manage water the way nature intended. The key to a good installation is matching the right system to the right load, choosing fill that fits both function and appearance, and not skipping the groundwork.
Geotextile fabric and anchors aren't extras, they're what keeps the whole system performing for years instead of months. Get those decisions right from the start, and you end up with a surface that holds up, drains properly, and looks good doing it.
Contact a Vodaland Designer for more information on installing Permeable Pavers for expert assistance.

Leave a comment
This site is protected by hCaptcha and the hCaptcha Privacy Policy and Terms of Service apply.