 Full Catalog PDF

Key Takeaways:
1. A dry well collects excess water and disperses it gradually into the ground. It's most effective when placed where water consistently collects or concentrates.
2. A dry well in the wrong location won't perform, no matter how well it's installed.
3. Pairing a dry well with the right inlet or catch basin makes the whole system work harder with less maintenance.
4. A properly placed dry well is one of the more manageable drainage projects a homeowner can take on.
If you've dealt with pooling water in your yard, a soggy patch that never fully dries out, or runoff from your roof, a dry well is worth understanding. When placed correctly, it's one of the more practical drainage solutions available.
The key word is correctly.
A dry well installed in the wrong location won't solve the problem. This guide covers where dry wells work, where they don't, and how to install one when you've found the right spot.
What Does a Dry Well Do?
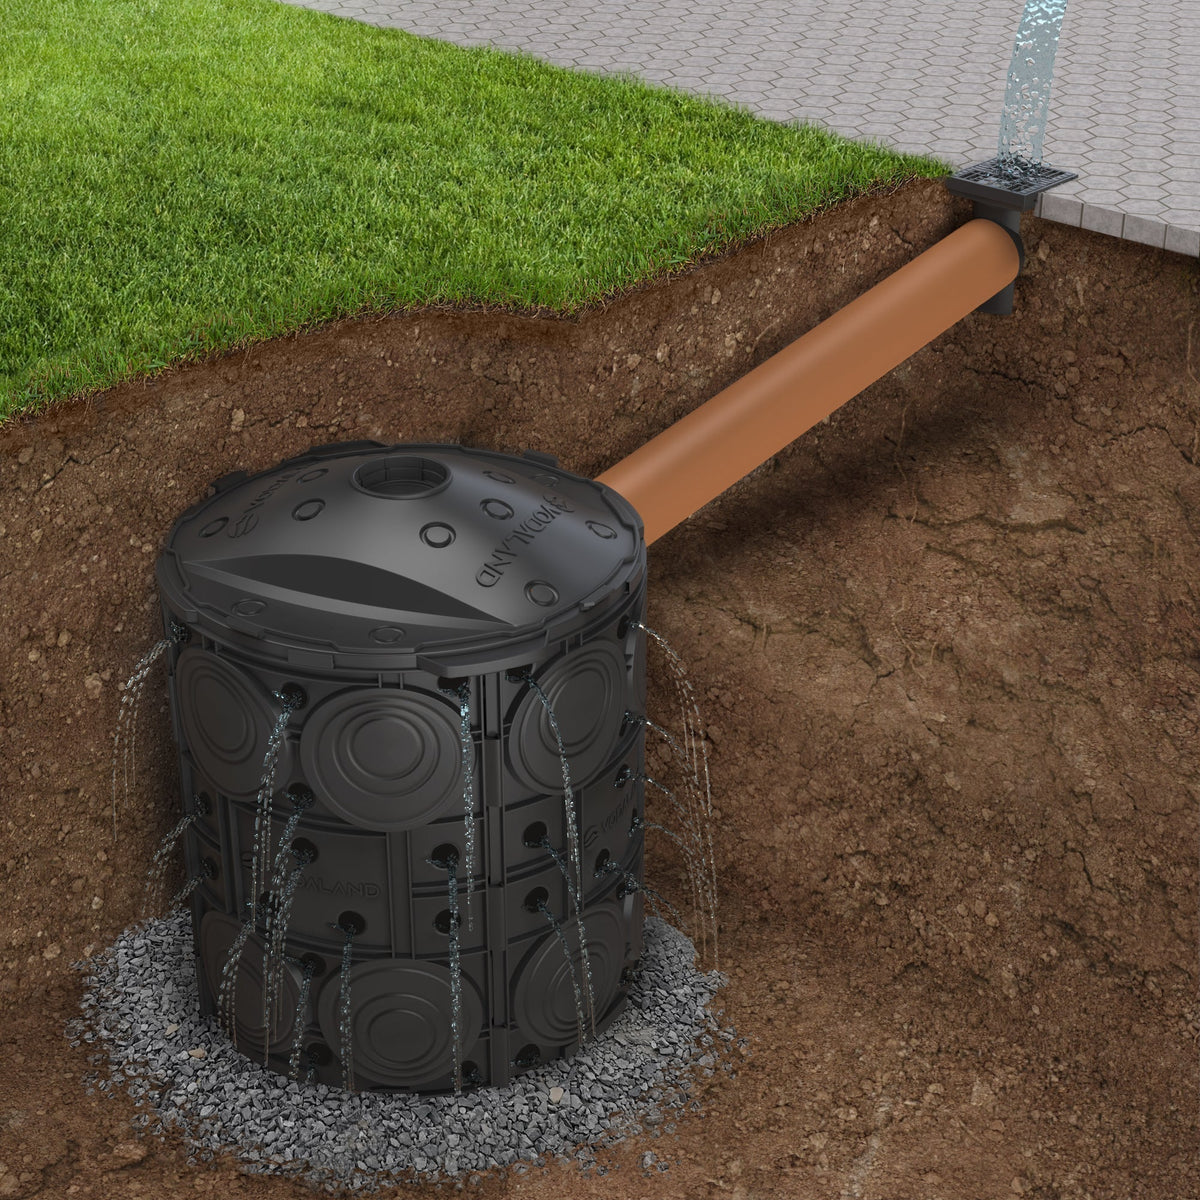
A dry well collects excess stormwater and disperses it gradually into the ground beneath the surface. Rather than letting water pool on top or sheet across your yard, the system stores it temporarily and releases it slowly into the surrounding soil. This keeps the surface dry without sending water somewhere it's not wanted.
Vodaland's Easy DryWell Stormwater System is built from UV-resistant polypropylene, which keeps it lightweight and easy to handle without sacrificing durability underground. The modular design means it can be configured to fit smaller residential applications or scaled up for larger commercial sites. Importantly, it doesn't require heavy machinery or concrete to install, which makes it a realistic DIY project for most homeowners.
What Is the Ideal Placement for a Dry Well?
Placement determines performance. These are the locations where a dry well earns its keep:
1. Under or Near Downspouts
One of the most common and effective applications. Roof runoff concentrates at downspout termination points, and without somewhere for it to go, it pools against the foundation or erodes the surrounding soil. A dry well positioned at the base of a downspout captures that concentrated discharge and moves it underground before it causes surface damage.
2. Low-Lying Yard Areas
If there's a spot in your yard that consistently holds water after rain (regardless of how much you've regraded or reseeded) a dry well placed at that low point gives the water a direct path into the ground rather than sitting on the surface.
3. Near the Foundation
Water that accumulates close to the house is the biggest pooling problem a homeowner deals with. A dry well positioned to intercept that water (whether from downspouts, grade issues, or lateral groundwater movement) is one of the more direct ways to reduce foundation moisture risk.
3. Under Driveways, Patios, and Garden Beds
The Easy DryWell can be installed under paved or landscaped surfaces with minimal excavation. This makes it useful for managing runoff in areas where a surface drain isn't practical or where aesthetics matter.
Where a Dry Well Won't Work
A dry well depends on the surrounding soil being able to absorb water. That's worth checking before installation.
Clay-heavy soil drains slowly—sometimes too slowly for a dry well to be effective. If water doesn't percolate through the soil within a reasonable time, the dry well fills faster than it empties and the surface pooling problem returns.
Here’s a simple percolation test: Dig a small hole, fill it with water, and time how long it takes to drain. This gives you a clear answer before committing to an installation.
High water table areas are also a poor fit. If the ground is already saturated close to the surface, there's nowhere for the dry well to disperse collected water. In these cases, a piped outlet system is usually the more reliable solution.
How to Pair a Dry Well With the Right Accessories
A dry well performs better as part of a system than as a standalone solution.
Dry Well Inlet
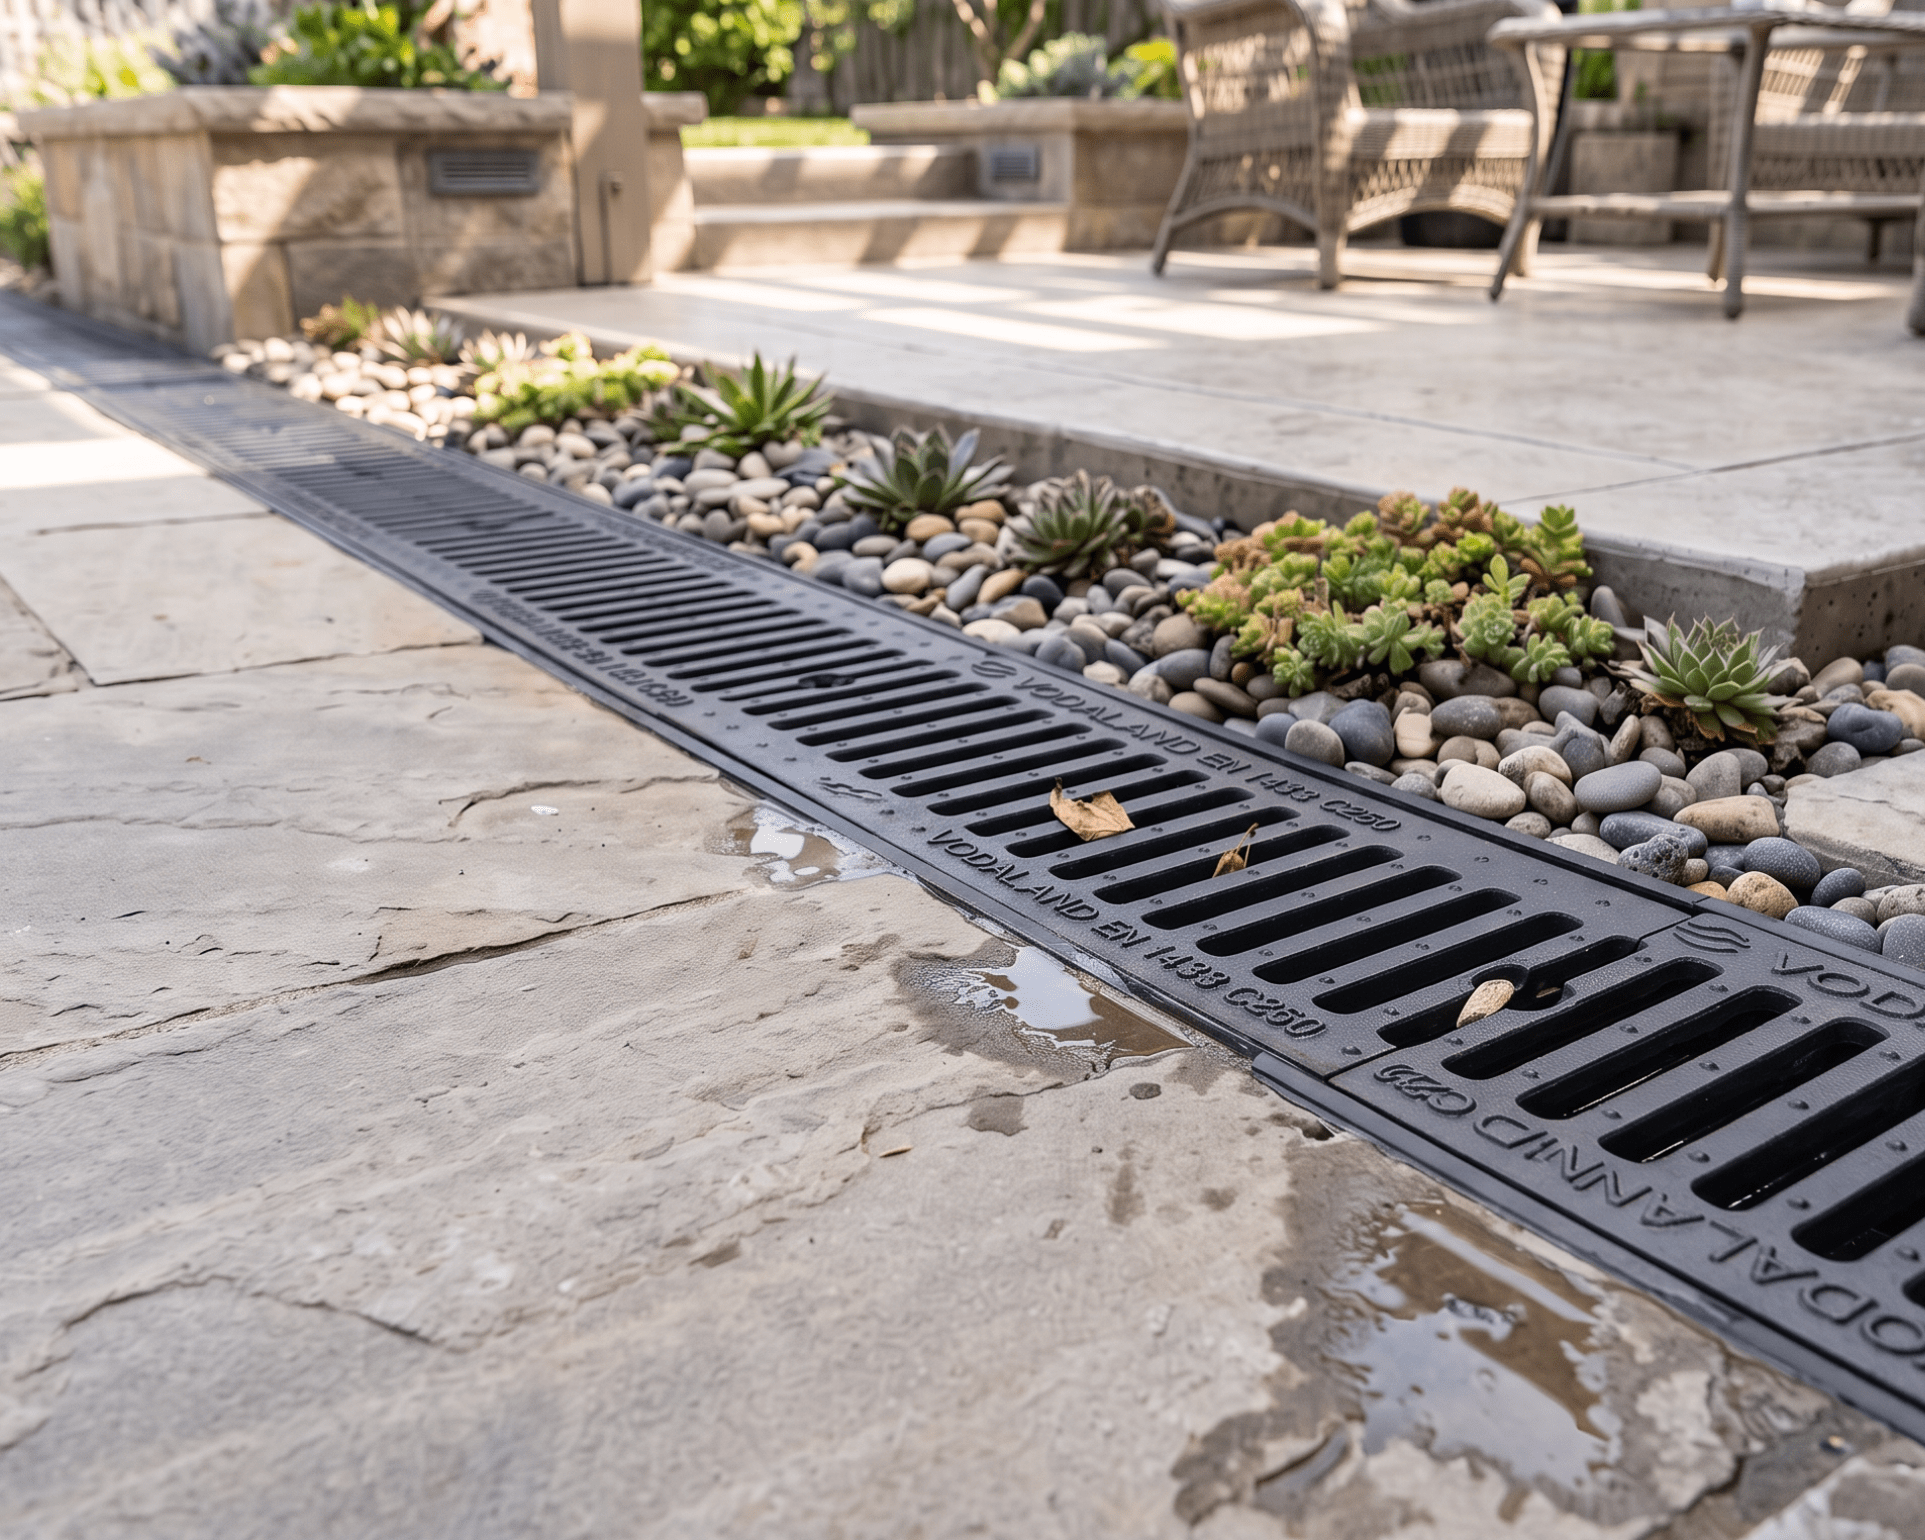
Vodaland’s DryWell Inlet connects directly to the Easy Stormwater DryWell and is designed for capturing and redirecting stormwater into the system. It handles direct water intake cleanly, reducing the chance of debris entering and slowing dispersal over time.
Downspout Catch Basin
For downspout applications specifically, pairing the dry well with Vodaland's 12x12 Downspout Catch Basin adds a first line of defense before water reaches the dry well itself.
The catch basins sits directly under the downspout, captures the discharge, and filters out leaves and debris through a built-in basket before passing clean water through to the outlet pipe and into the dry well. This keeps the dry well from becoming a debris trap and significantly reduces maintenance over time.
The basin connects to 2", 3", 4", or 6" piping, giving flexibility in how you route the outlet to the dry well location.
How to Install a Dry Well
Once you've confirmed the right location and soil conditions, installation is simple without specialized equipment.
Step 1: Dig the Hole
Excavate to the recommended depth based on your soil conditions and how much water volume the system needs to handle. Larger volumes and slower-draining soils benefit from deeper placement.
Step 2: Prepare the Base
Add a layer of gravel or crushed stone at the base for stability and to aid initial filtration. Pack it level before setting the unit.
Step 3: Prep the Inlet Connections
The unit has pre-marked side knockouts that can be opened with a standard drill. Open the knockouts needed for your pipe connections before placing the unit in the hole.
Step 4: Set the Unit and Attach Panels
Lower the unit into the pit with drainage openings oriented toward the intended water flow direction. Attach the three side panels and wrap the system with the included geotextile sheet. This keeps surrounding soil from migrating into the unit while still allowing water to pass through.
Step 5: Connect the Inlet Piping
Connect your downspout pipe, catch basin outlet, or other stormwater line to the inlet port using PVC or flexible piping. Maintain a consistent downward slope from the water source to the dry well inlet.
Step 6: Backfill and Finish
Backfill around the unit with gravel and then soil, compacting as you go. The system sits completely underground, so it’s discreet and ready to work the next time it rains.
The Right Location Makes All the Difference
A dry well is one of the more effective tools in a residential drainage plan. However, it only works when it's placed where the water actually is, in soil that can absorb it, with the right accessories to keep it clear.
Get those three things right and it handles stormwater quietly and reliably for years without much attention. Get the location wrong and no amount of good installation technique will make up for it. Start with the site, confirm the soil, and build the system around what your property actually needs.
If you have any additional questions, reach out to a Vodaland Designer, and we will assistance on your next project.

Leave a comment
This site is protected by hCaptcha and the hCaptcha Privacy Policy and Terms of Service apply.