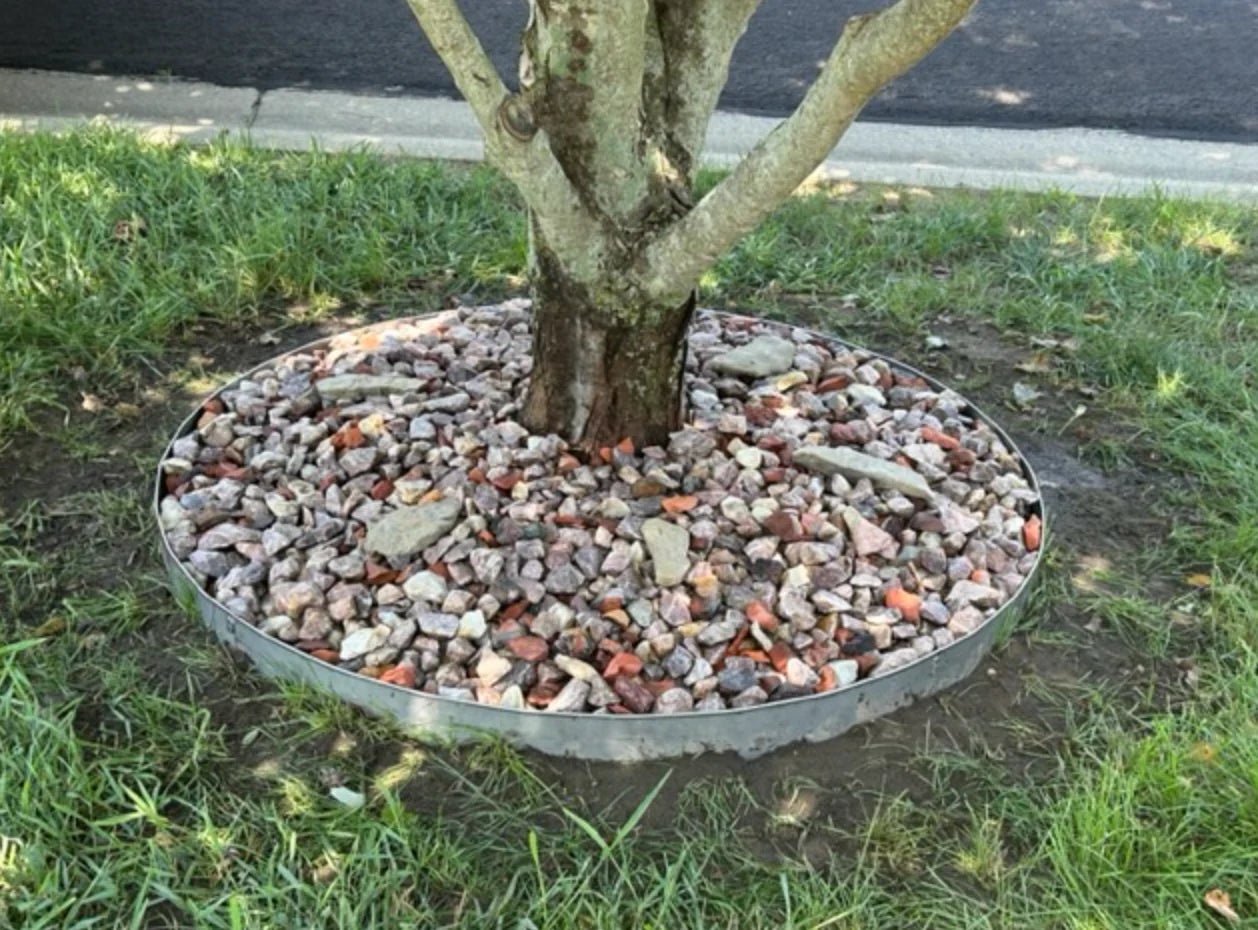
There’s something about a neatly organized and well-maintained outdoor space that warms the soul. A clean, well-defined landscape doesn’t just look great—it also adds value to your property. If you’re looking to structure flower beds, set a clear border around a lawn, or separate a gravel pathway, steel edging is the way to go. It creates sharp, polished lines and stands up to the elements for years, making it a smart investment in your landscape.
At Vodaland, we understand the importance of quality and design in every landscape. We specialize in crafting high-grade, durable stainless steel edging systems. With our steel edging, you’ll get durability, ease of installation, and adaptability to any garden edging design you’re working with. This guide and our other resources, like our guide on how to install metal edging, are based on our years of expertise; we will walk you through the process so you can achieve a polished, professional look—without the need for a landscaping crew.
Metal Landscape Edging Installation - Materials and Tools
One of the best things about taking this kind of landscaping project into your own hands is that you probably already have all the tools you need kicking around in your backyard shed or basement workshop. Metal landscape edging offers a world of possibilities; from clean lines around garden beds to tree rings or pathway edging, walkway edging, and much more.
For standard steel edging landscaping projects, gather the essentials: steel edging, shovel, hand trowel, mallet, stakes, a level, and a measuring tape. A handsaw can come in handy if you need to make precise cuts, especially around curves or tight corners.
For more complex layouts, a few extras are worth adding. Spray paint is helpful for marking out curves, and extra stakes are a must if you’re dealing with uneven ground. Having the right tools and materials from the start sets you up for a smooth, frustration-free installation.
Step-by-Step Installation Guide with Pro Tips
You don’t need to be a pro to get pro results when you install metal edging! By following these simple steps and a few insider tips, you’ll avoid common mistakes and make the installation process a breeze.
Step 1: Plan and Measure the Layout
- Pitfall: Skipping accurate measurements can lead to wasted materials and a crooked border.
- Pro Tip: Carefully mark out your edging line. Spray paint is great for curves, and using stakes at regular intervals gives you a visual guide to keep things straight. Proper measurements make all the difference, helping you follow your design even on uneven terrain.
Step 2: Digging Trenches Correctly
- Pitfall: Digging too deep or too shallow can cause the edging to shift or sit unevenly over time.
- Pro Tip: Use the height of your steel edging to gauge the trench depth, digging about ½ inch shorter than the edging’s height. This small adjustment keeps the edging slightly raised for a crisp, defined look and helps it stay stable in the ground.
Step 3: Add a Sand Layer for Stability and Drainage
- Pitfall: Skipping the sand layer can lead to pooling water and uneven edging in the future.
- Pro Tip: Spread a thin layer of sand in the trench to level the base and improve drainage, which helps avoid water buildup that could shift the edging. A little prep goes a long way in ensuring your edging stays level and reduces maintenance later on.
Step 4: Position and Secure Each Section
- Pitfall: Loose connections can cause gaps and misalignment, making the final product look sloppy.
- Pro Tip: For each metal edge
section, overlap slightly if necessary and use a mallet to secure a tight fit. If you’re working around bends, a handsaw makes clean, precise cuts for seamless joins. These small details give a polished, professional finish.
Step 5: Anchor Properly for Long-Term Stability
- Pitfall: Insufficient anchoring can cause the edging to shift, especially in high-traffic areas.
- Pro Tip: Anchor each section with at least three stakes or nails, particularly at joints and corners. Tap each stake with a mallet and check with a level to keep everything aligned perfectly. Proper anchoring ensures your edging holds up over time—even with frequent foot traffic.
Step 6: Backfill and Compact Carefully
- Pitfall: Loose or poorly compacted soil can destabilize the edging, creating an uneven border over time.
- Pro Tip: Backfill around the edging with gravel or aggregate and lightly compact it using a mallet or hand tamper. Compacting keeps the edging securely in place and gives it a finished, professional look that lasts.
Ready to Install Metal Landscape Edging?
As you can see, there are a few things to keep in mind when going about a metal edging project on your property, but investing a little time and effort to get your installation just right will pay long-term dividends. Even small imperfections start to look bigger and bigger over time, so we hope this guide saves you from that kind of frustration.
When you want great results, you have to start with great products. All the installation tips and tricks in the world can’t make up for inferior product quality. When you start with Vodaland plastic, stainless steel, or galvanized steel edging systems, you’re already on your way to a landscape that holds up beautifully over time.


Leave a comment
This site is protected by hCaptcha and the hCaptcha Privacy Policy and Terms of Service apply.